

AI Image Enhancer: Sharpen and Clean Up a Photo
Upload a soft, noisy or dim photo and the model returns a cleaner, sharper version, aiming to keep faces unchanged.
Updated
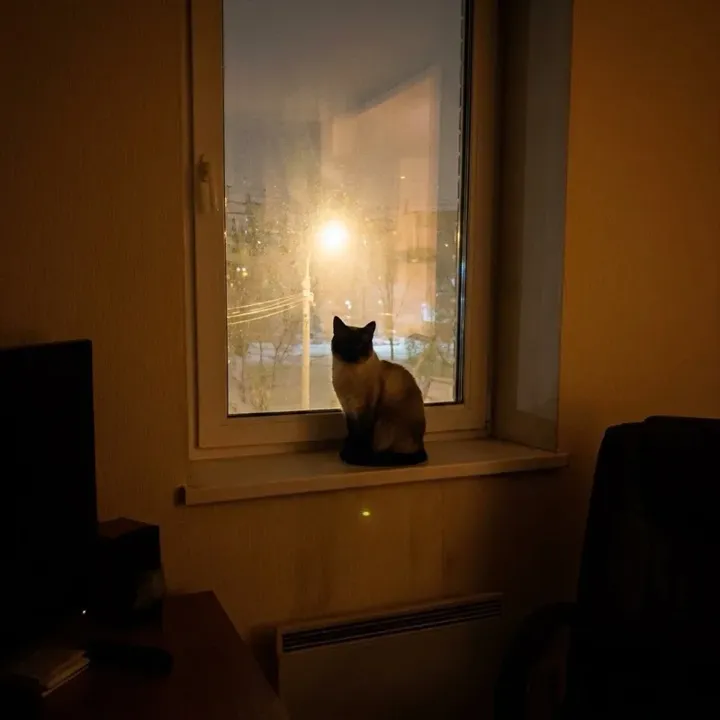 App sample
Examples
Illustrations of the kind of result this makes. They are not app outputs.
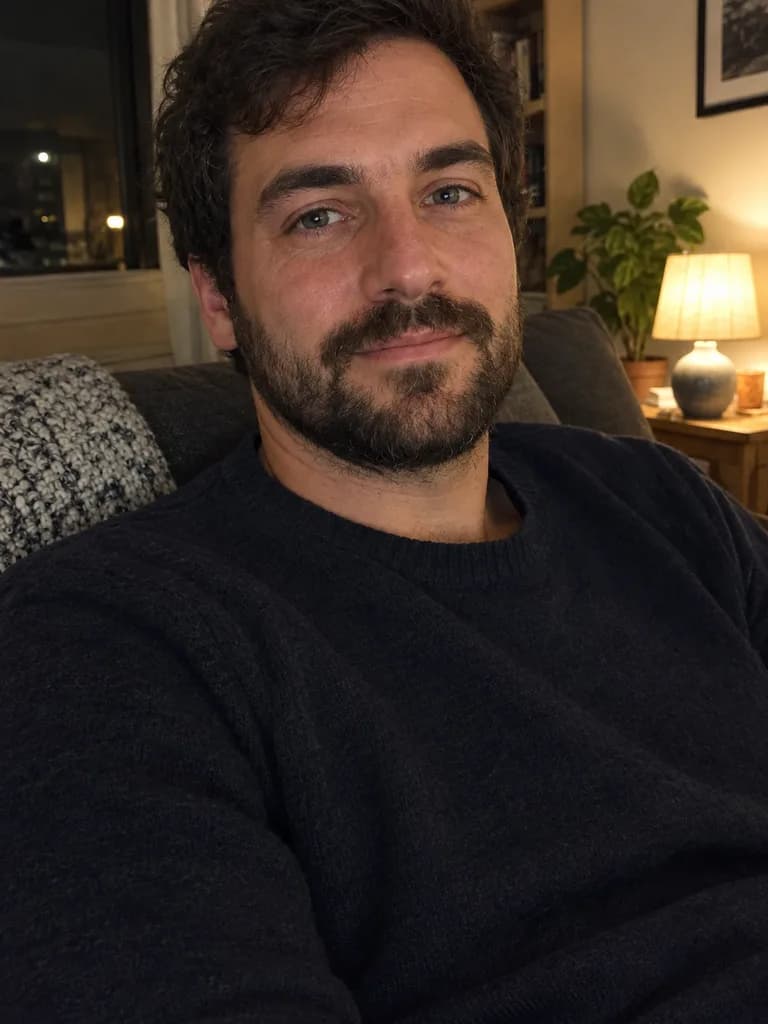
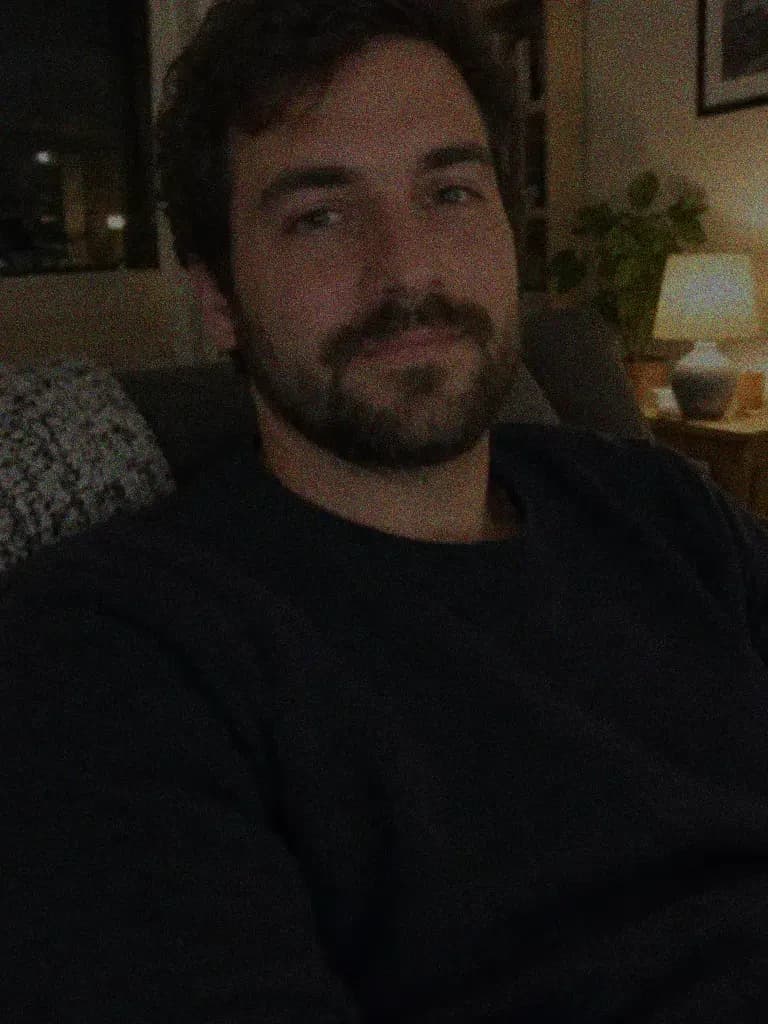 BeforeAfter
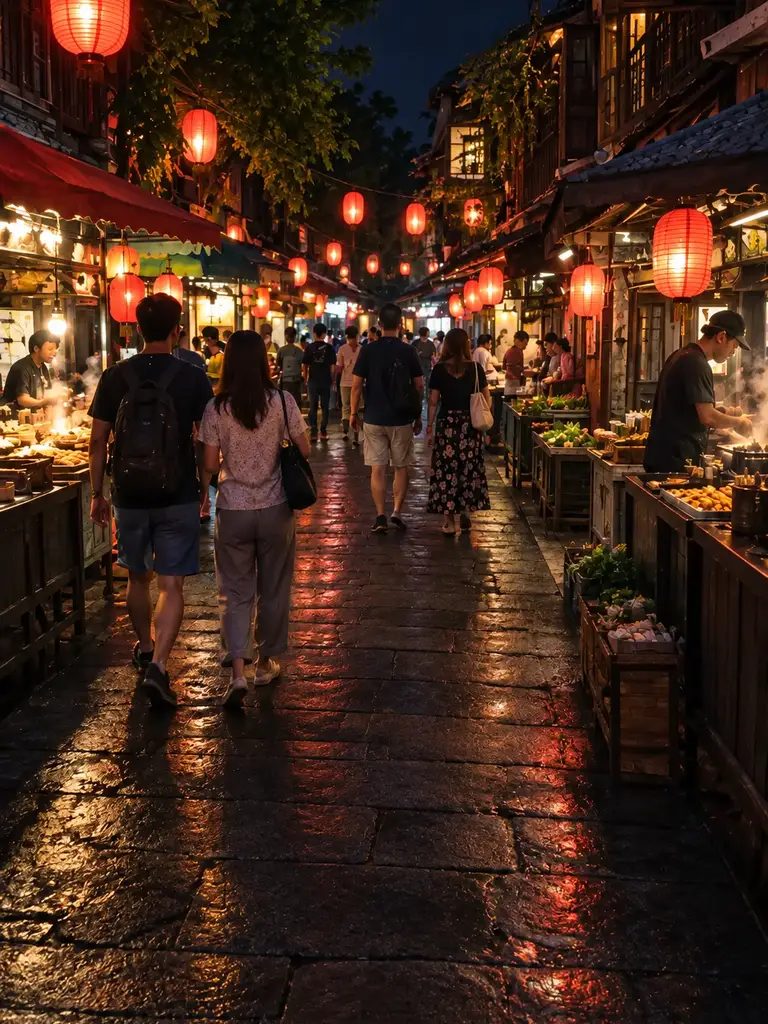
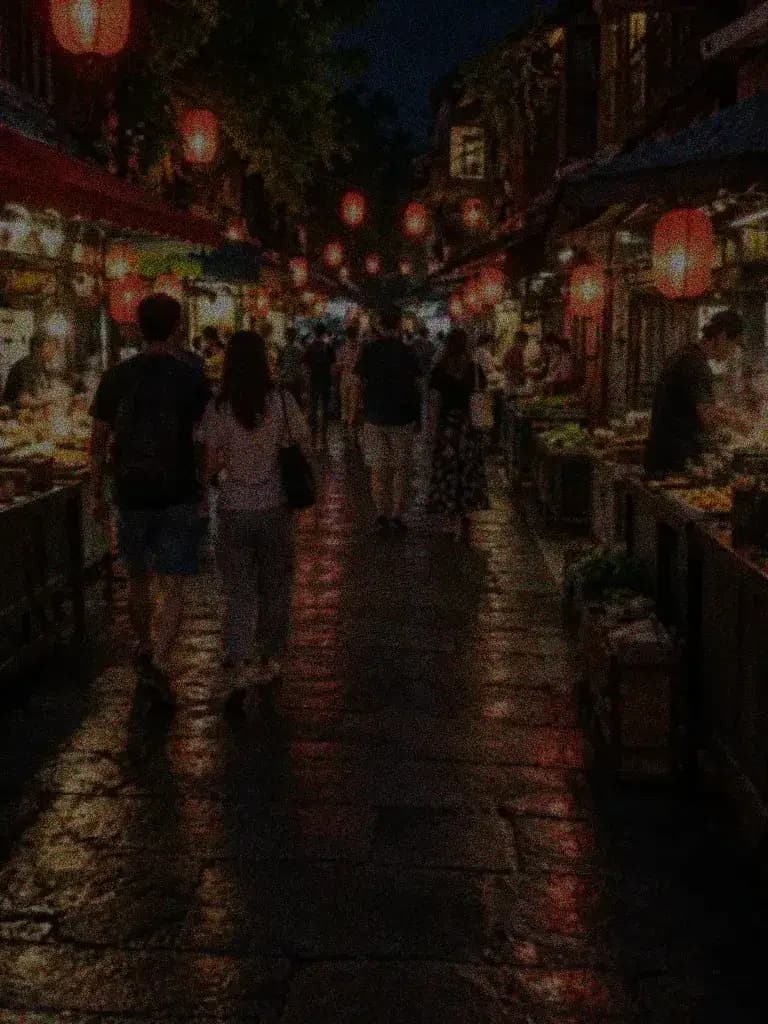 BeforeAfter
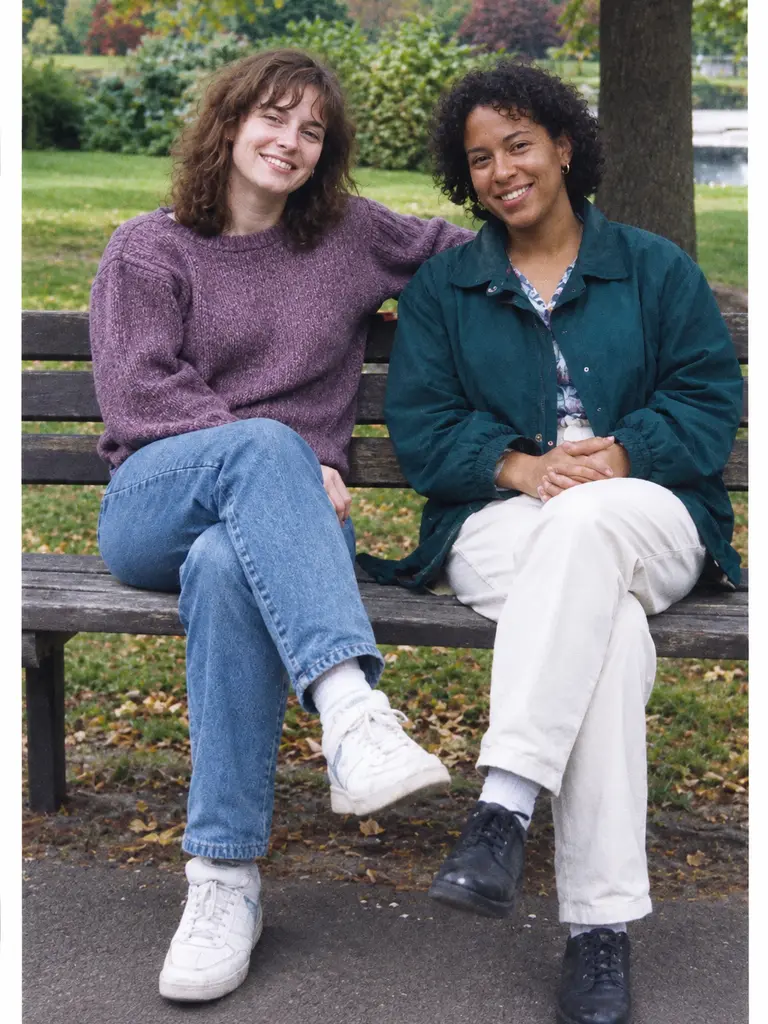
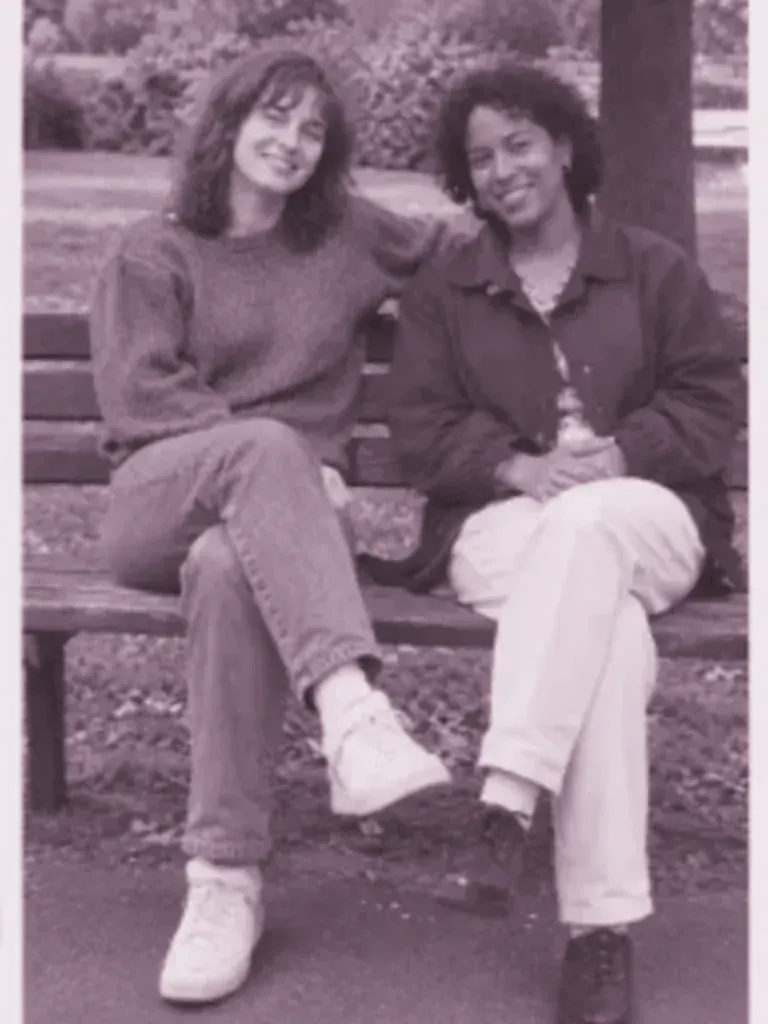 BeforeAfter
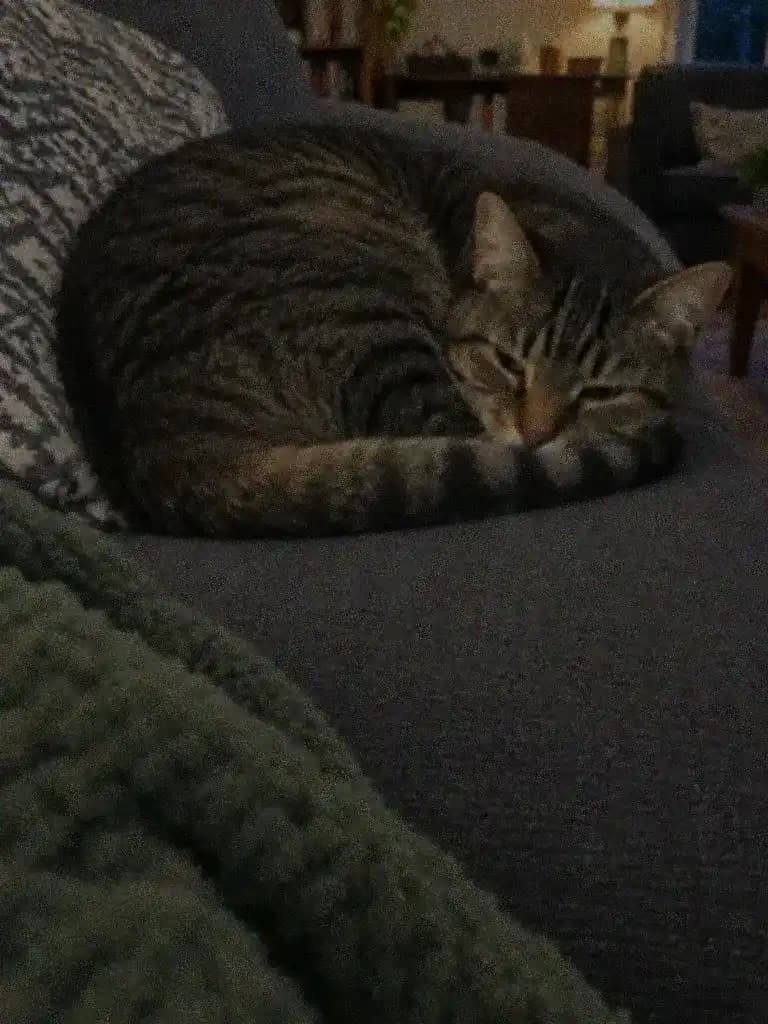 BeforeAfter
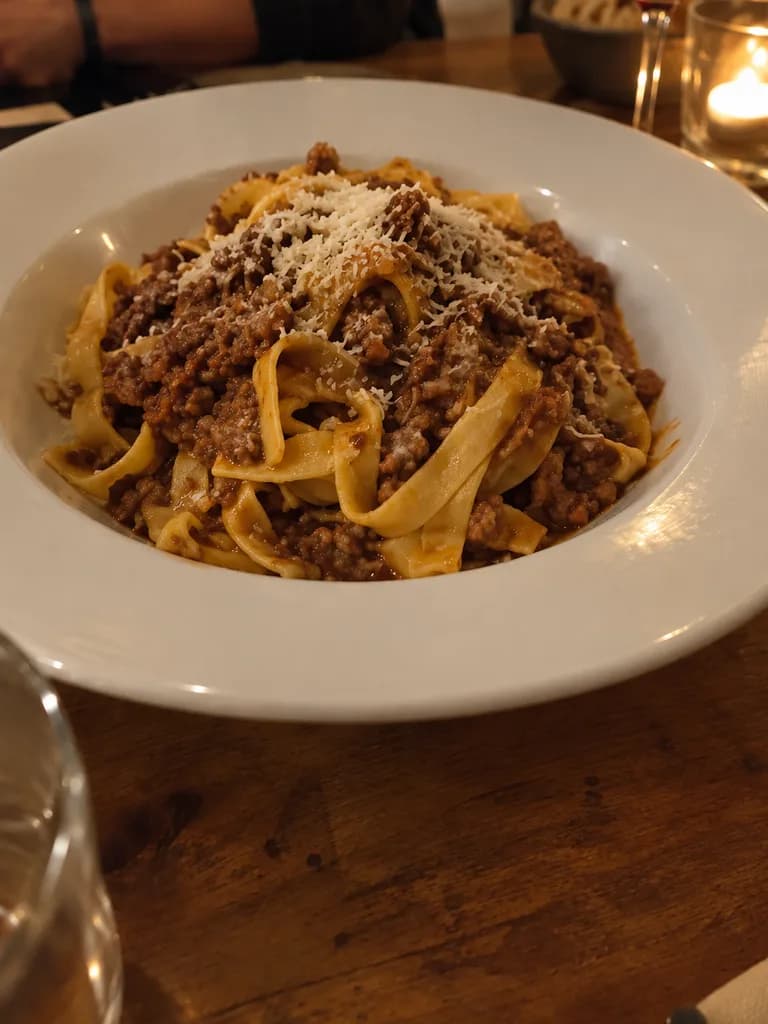
 BeforeAfter
How it works
Add your photo
Use the largest copy you have. A screenshot of a photo has less detail than the original file.
Send the prepared instruction
It asks the model to sharpen, reduce noise and keep faces unchanged. Edit it if you want only one of those.
Compare at full size
Zoom in on faces and edges next to the original, then save.
Does it increase the resolution of my photo?
No. The result comes back at the model's output size, not at two or four times the pixels of your file. The gain is in clarity: soft edges become crisper, noise and grain are reduced, and a dim exposure is balanced. If you need a large print from a tiny file, this is not a pixel upscaler; it will make the picture cleaner, not bigger.
About the examples
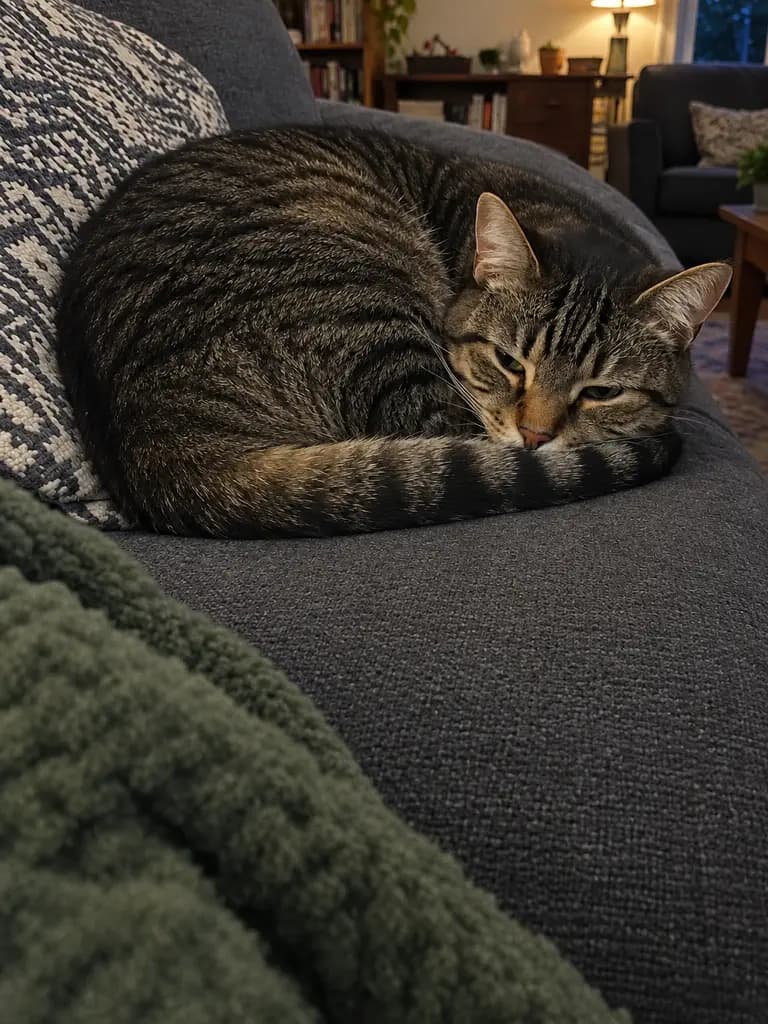
The image above is a result of the Enhance preset in the UniqAI app: a low-light phone photo of a cat on a windowsill, cleaned up. Before-and-after pairs will be added so you can drag between the original and the result.
What it can and cannot do
The model rebuilds the photo with the detail it can infer, so it can sharpen a slightly soft face, calm high-ISO noise and lift shadows. It cannot recover detail that was never captured: a face blurred beyond recognition, text that is unreadable in the original, or a heavily pixelated thumbnail will improve but will not match a photo taken in focus. Because the edit is generative, fine detail can shift; compare faces with the original before you share.
Enhance, restore or colorize?
Use this page when the photo is intact but soft, noisy or dim. For scratches, creases and fading on a scanned print, start with Restore old photos and enhance afterwards. For a black-and-white photo that needs color, use Colorize photo. Each step is a separate 12-gem edit on Nano Banana, so do the repair first and the polish last.
Questions about AI Image Enhancer
How much bigger can the AI image enhancer make my photo?
It does not make the photo bigger. The result comes back at the model's output size and the improvement is in sharpness, noise and exposure. For a large print from a very small file you would still need a dedicated pixel upscaler.
Will enhancing make my photo look fake or overly smooth?
The instruction asks the model to keep colors and faces unchanged, which limits the waxy look, but it is a generative edit and skin or fabric texture can shift. Compare at full size and, if it looks too smooth, run it again with "keep the natural grain" added.
Can it fix a photo that is both dark and blurry?
It can lift a dim exposure and sharpen a slightly soft photo in one 12-gem pass. Heavy motion blur or a face that is fully out of focus will improve but will not reach the sharpness of a photo taken in focus, because that detail was never captured.
Does it work on scanned or old photos?
Yes, but if the print has scratches, creases or stains, repair those first with the restore tool and enhance afterwards. Doing it in that order keeps damage from being sharpened along with the detail.
How much does one enhancement cost?
An enhancement on Nano Banana costs 12 gems, shown next to the model before you generate. If a generation fails, the gems are returned.

Coming soon to the App Store for iPhone
Chat, photo and video generation with several AI models in one app.