

AI Photo Editing Tools: Restore, Colorize and New Backgrounds
Three AI photo editing tools in one web app: restore a damaged print, colorize a black-and-white photo or swap the background behind a subject.
Updated
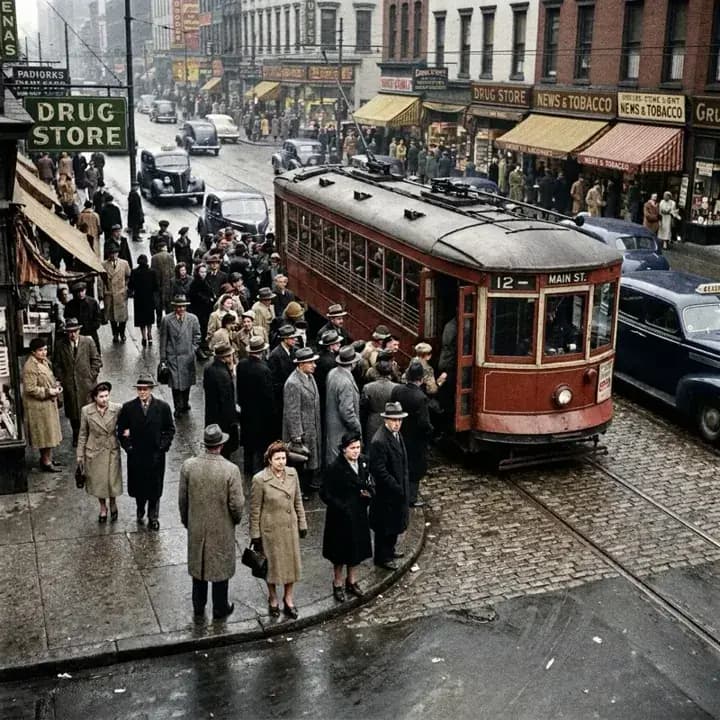
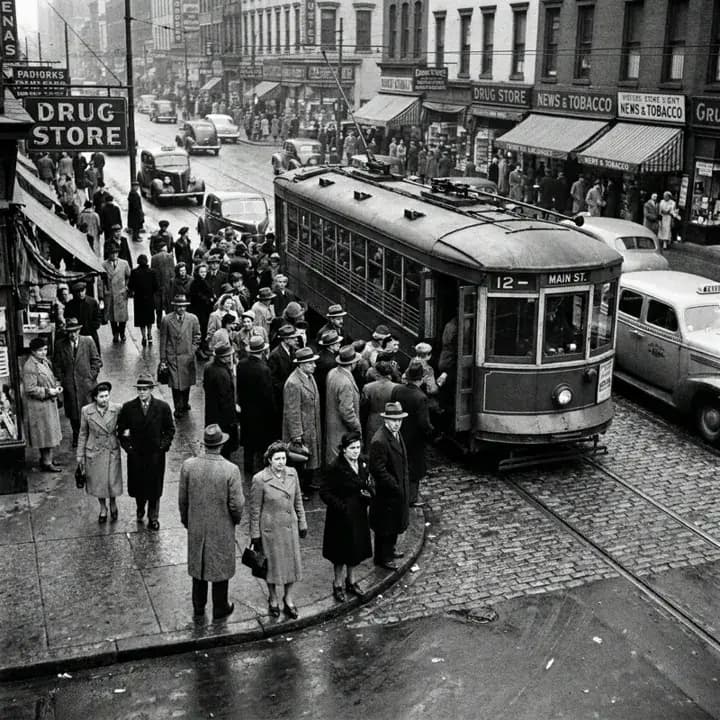 BeforeAfter
Examples
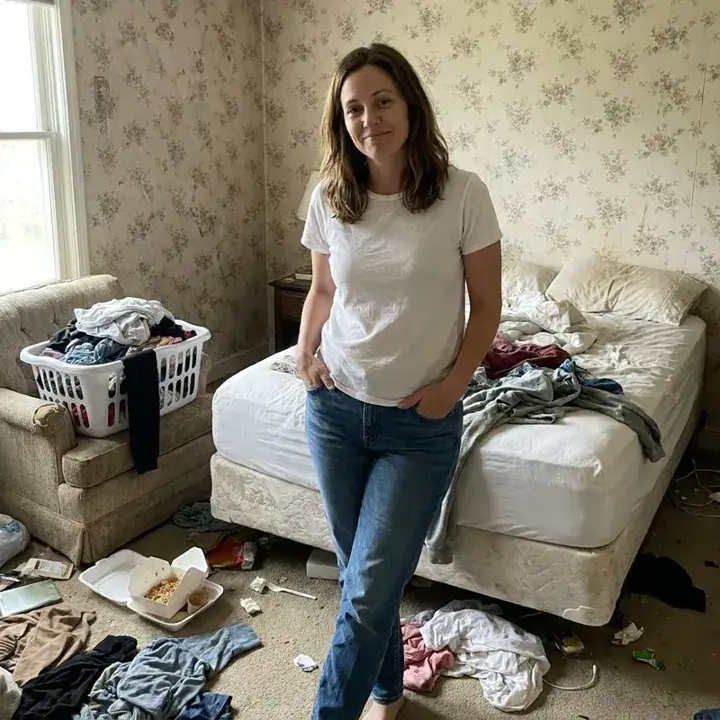
App samples come from the UniqAI app. Illustrations show other edits you can ask for.
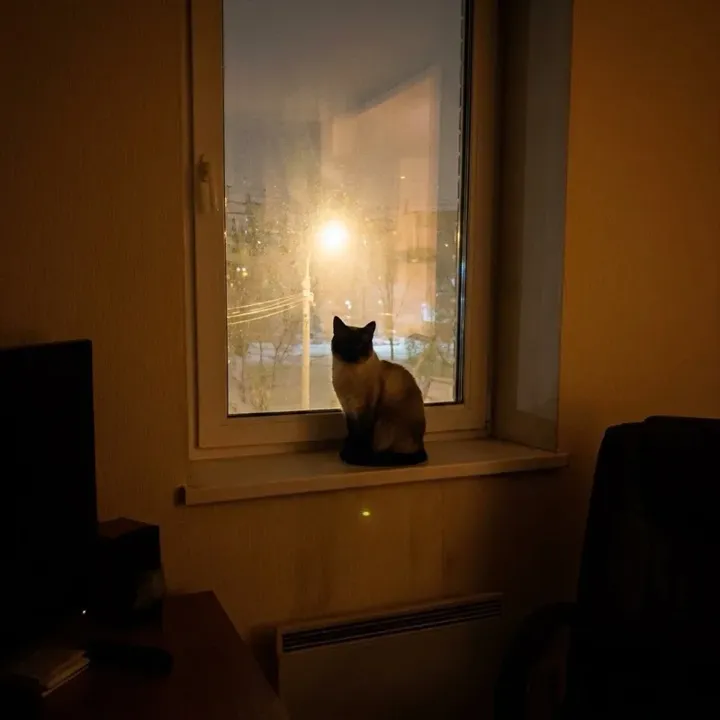 App sample
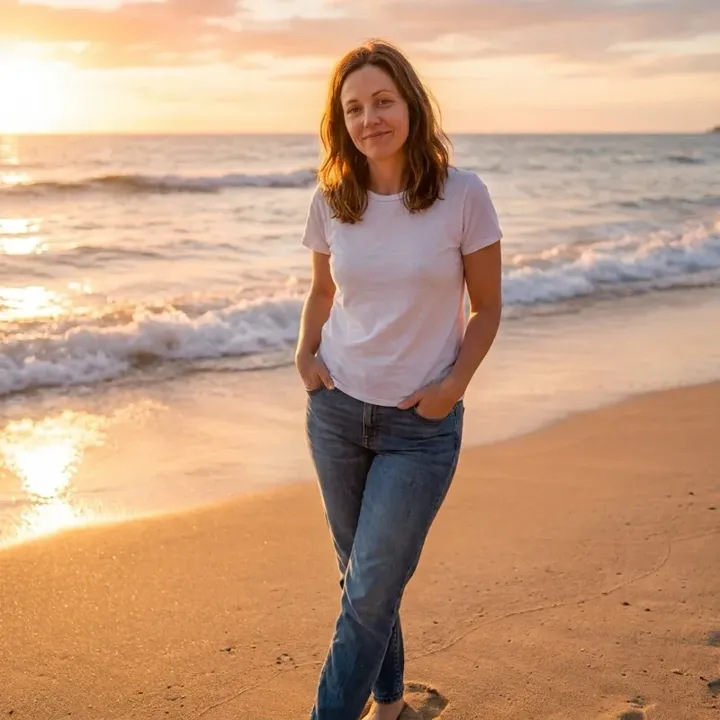
 BeforeAfter
 BeforeAfter
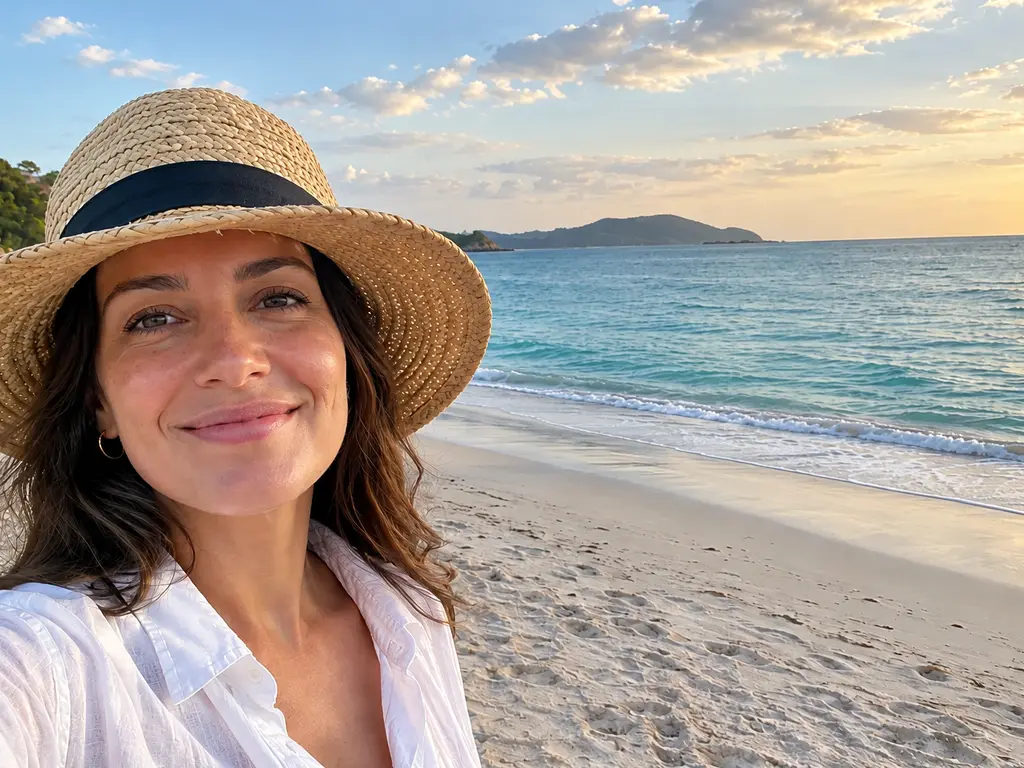
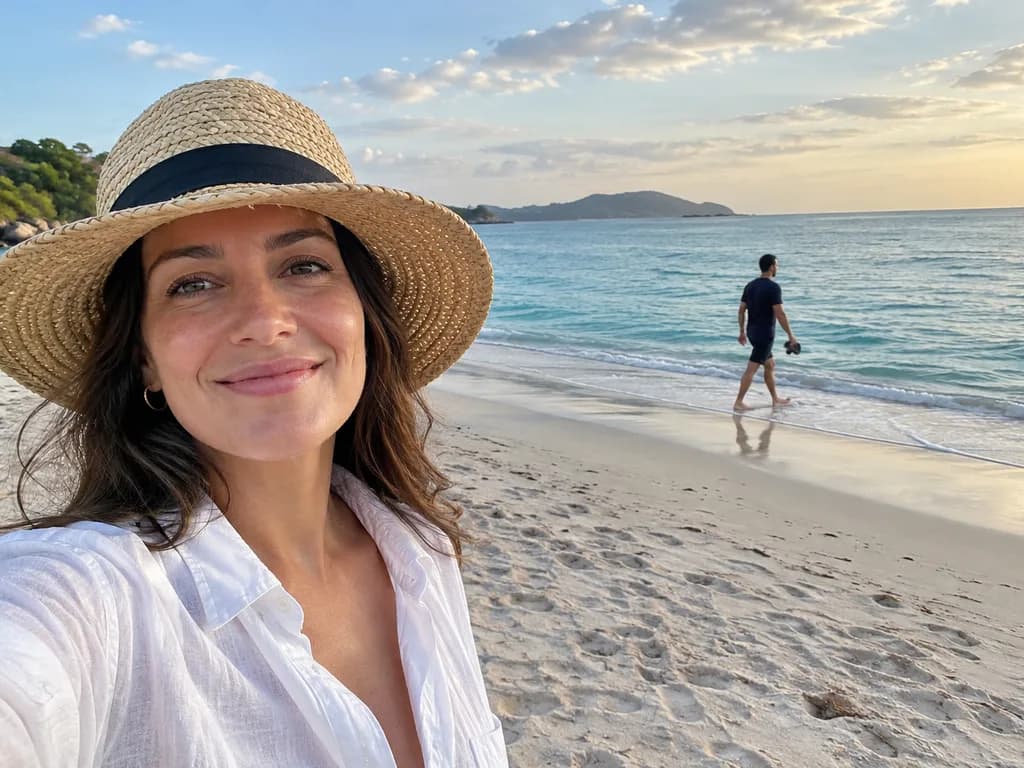
Example instruction: Remove the stranger walking in the background and fill the space with matching sand, sea and sky so nothing looks patched. Keep the woman, her pose, the lighting and everything else exactly as they are. Output the full original frame at exactly the same zoom and position; do not crop, zoom in or recompose. Do not change the framing, crop, camera angle, or anything not mentioned. The result must look like an untouched real photograph, with no smudges, repeated textures, halos or visible seams.
 BeforeAfter
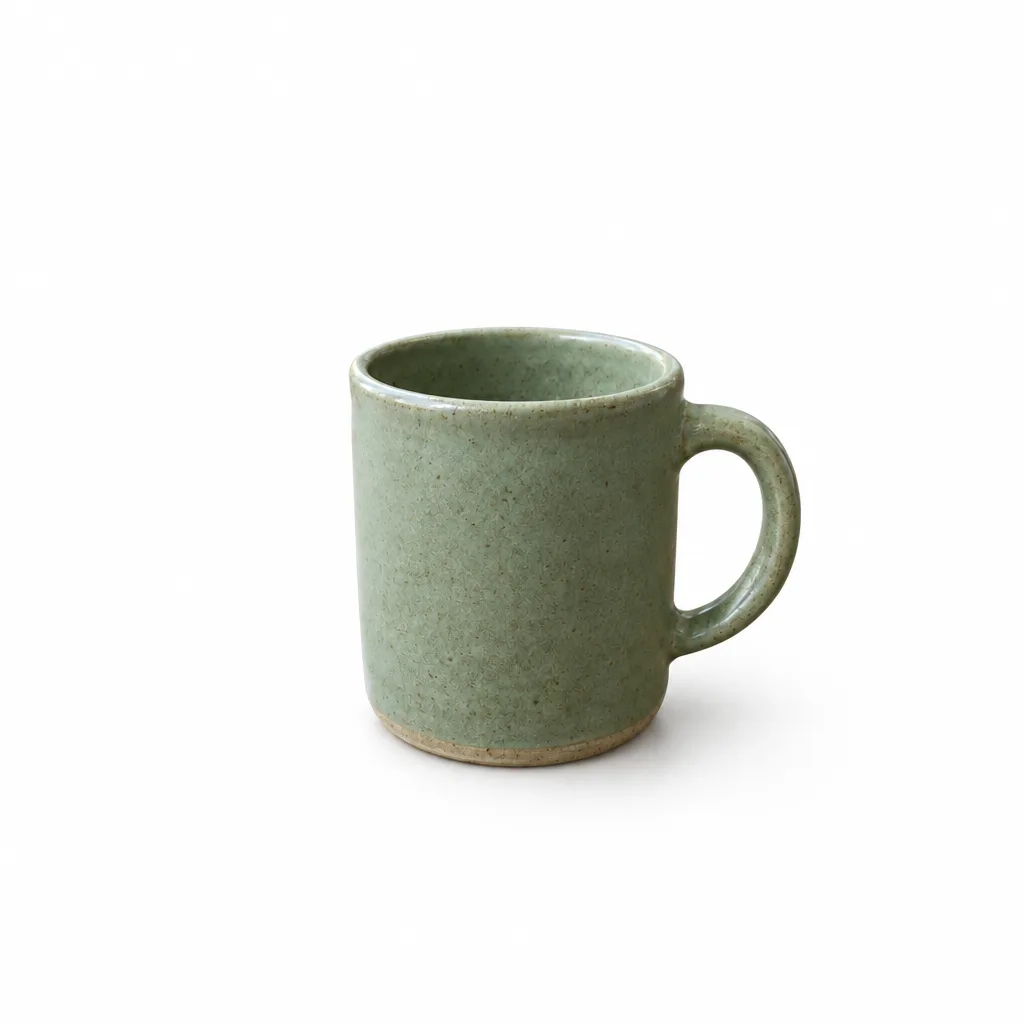
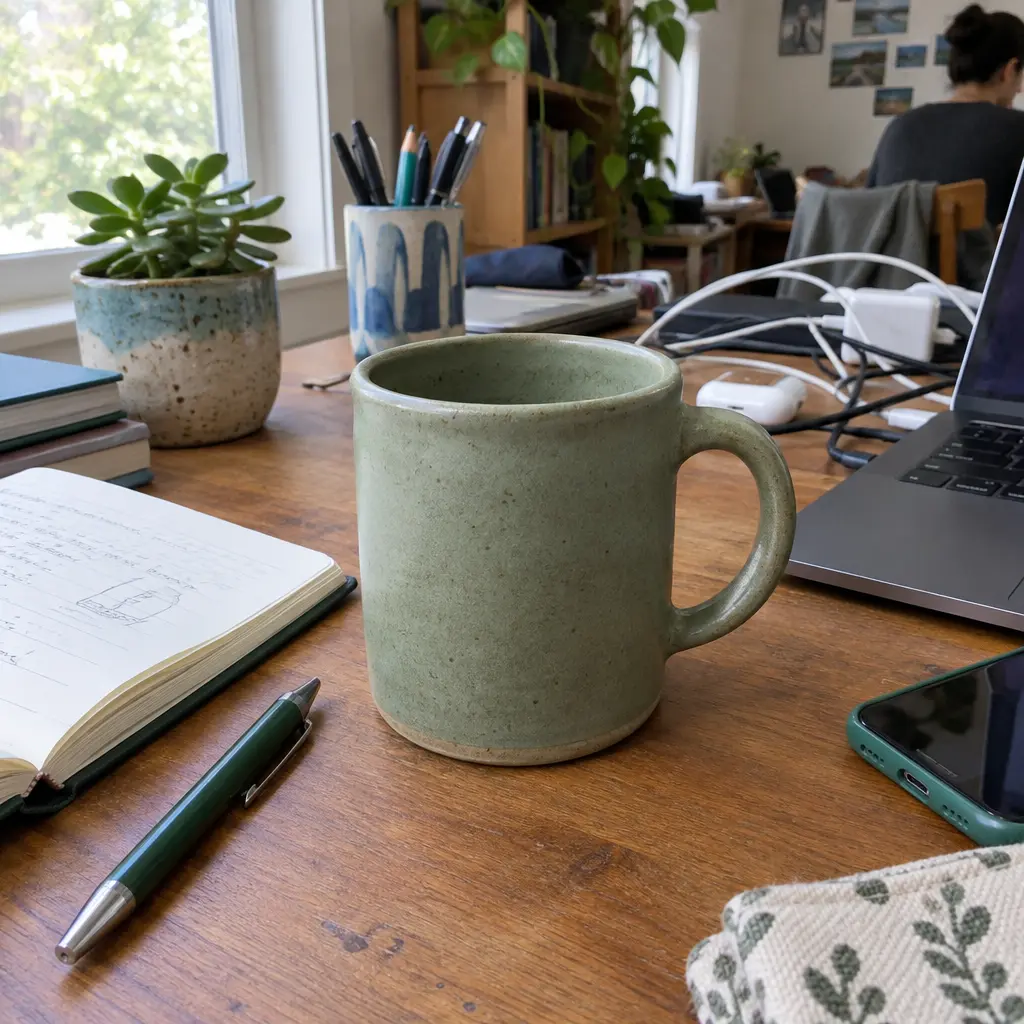
Example instruction: Remove the entire background and replace it with a plain, evenly lit pure white backdrop. Keep the mug, its edges, colors and position exactly as they are, with a soft natural shadow under it. Do not change the framing, crop, camera angle, or anything not mentioned. The result must look like an untouched real photograph, with no smudges, repeated textures, halos or visible seams.
 BeforeAfter
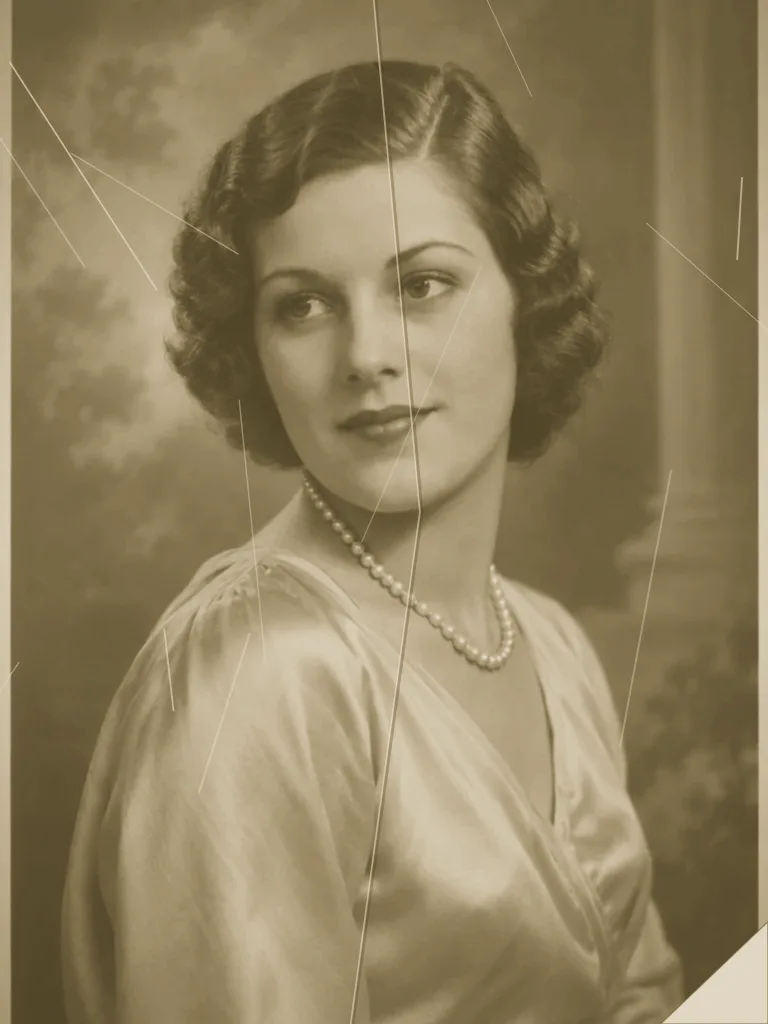 BeforeAfter
How it works
Pick a tool
Restore, colorize or change the background.
Add your photo
Every tool works from a single image; a sharp scan or photo helps.
Compare and save
Check the result against the original, then save it.
Photo tools you can use today
- Restore old photosRepair scratches, creases, stains and fading; faces stay as they are.
- Colorize photoNatural color for a black-and-white or faded print.
- Background changerDescribe a new scene behind your subject.
- Upscaler and enhancerSharper, cleaner, better exposed; faces stay recognisable.
- Unblur imageFix a soft, shaky or out-of-focus photo.
- Object removerDescribe what to remove; the gap is filled naturally.
- Background removerSubject on a plain backdrop in one step.
Which photo tool should I use?
| If your photo | Use | Best input | Good to know |
|---|---|---|---|
| Has scratches, creases, stains or fading | Restore old photos | A flat, evenly lit scan of the print | Keeps the photo black and white; it cannot rebuild a part that is torn away |
| Is black and white or faded | Colorize photo | A sharp scan with clear contrast | Colors are a plausible guess, not a record of the original |
| Is old, damaged and black and white | Restore, then colorize | The cleanest scan you have | Repairing first keeps scratches from being colorized |
| Is fine, but the setting is wrong | Background changer | A clear subject with simple edges | Describe the new place and its light in one sentence |
| Should look like a studio profile photo | AI headshot generator | One front-facing selfie in daylight | Change one thing per run, such as the backdrop |
Each tool run is one image generation. The web app shows its cost before you generate.
How much does a photo edit cost?
Every tool run is one image generation, priced by the model you pick, and the cost is shown before you generate. The tool pages start on Nano Banana at 12 gems per photo.
- Flux Schnell (Black Forest Labs): 3 gems per image, the lowest cost.
- Nano Banana (Google): 12 gems per image.
- FLUX 1.1 Pro (Black Forest Labs): 18 gems per image, paid plan only.
Restoring a print and then colorizing it is two runs: 24 gems on Nano Banana, or 6 gems on Flux Schnell. If a generation fails, the gems are returned automatically.
Worked example: repairing a damaged print
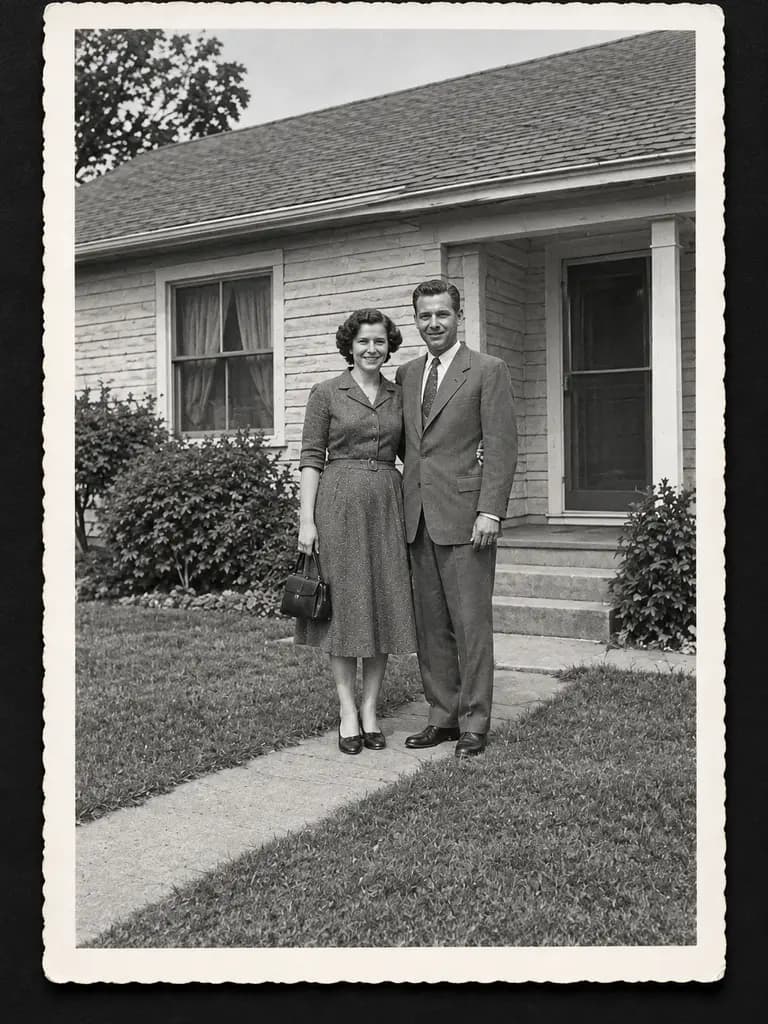
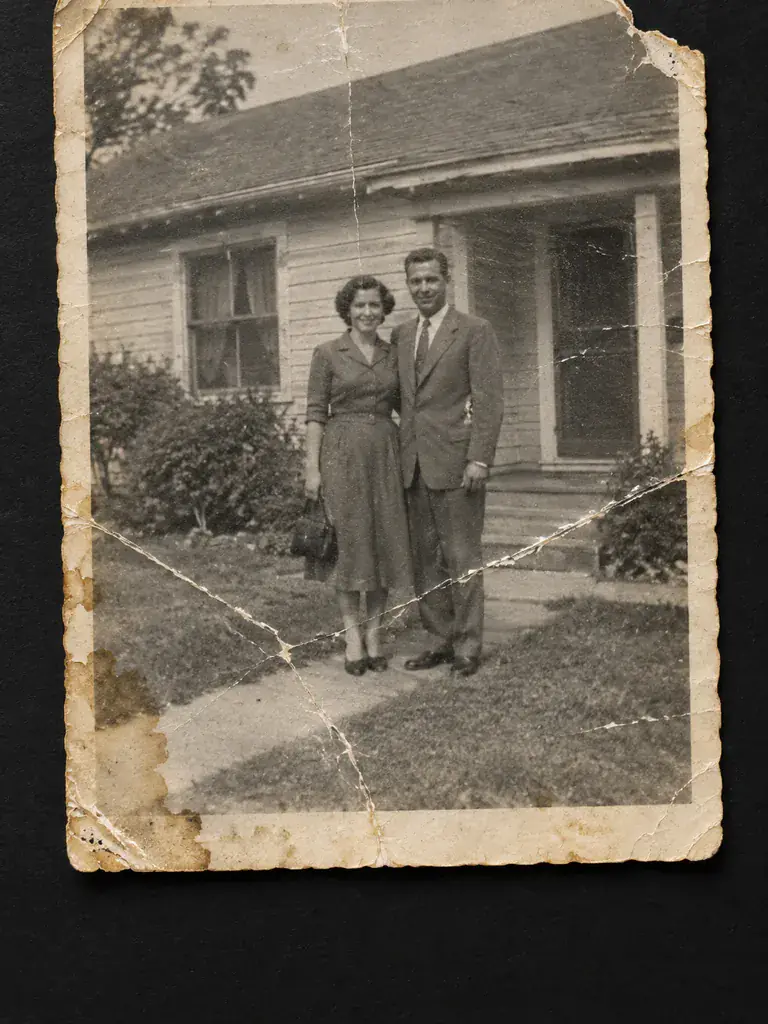 BeforeAfter
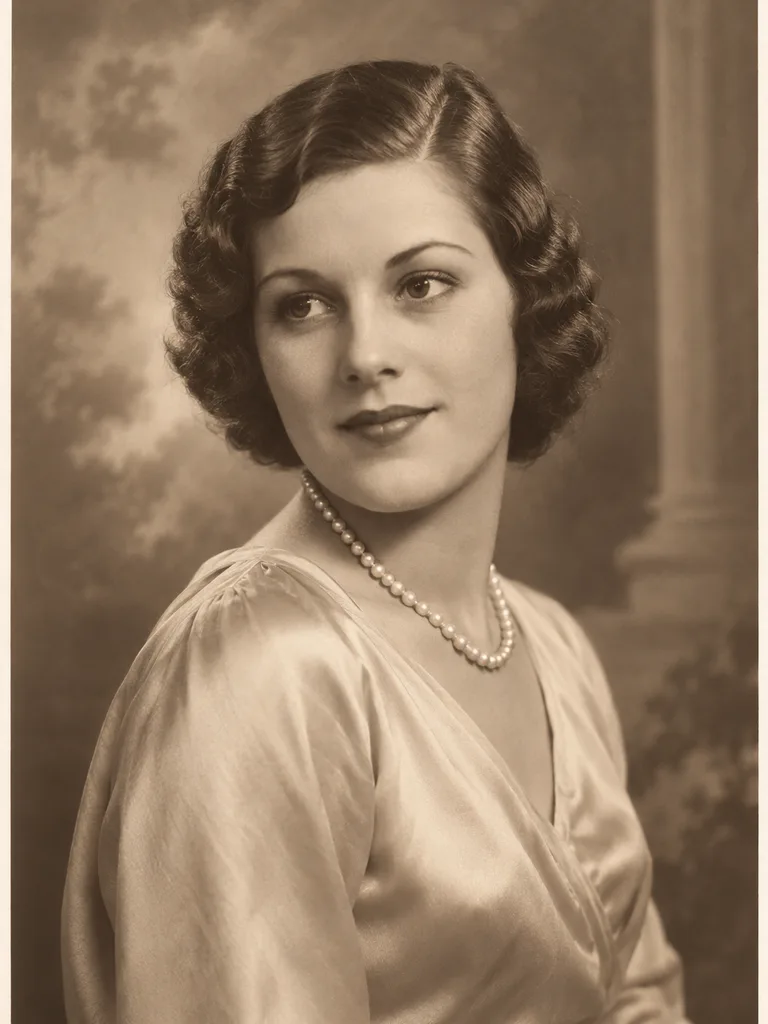
Illustration of this look, made from the prompt with an image model, not from your photo. Your result starts from your own photo.
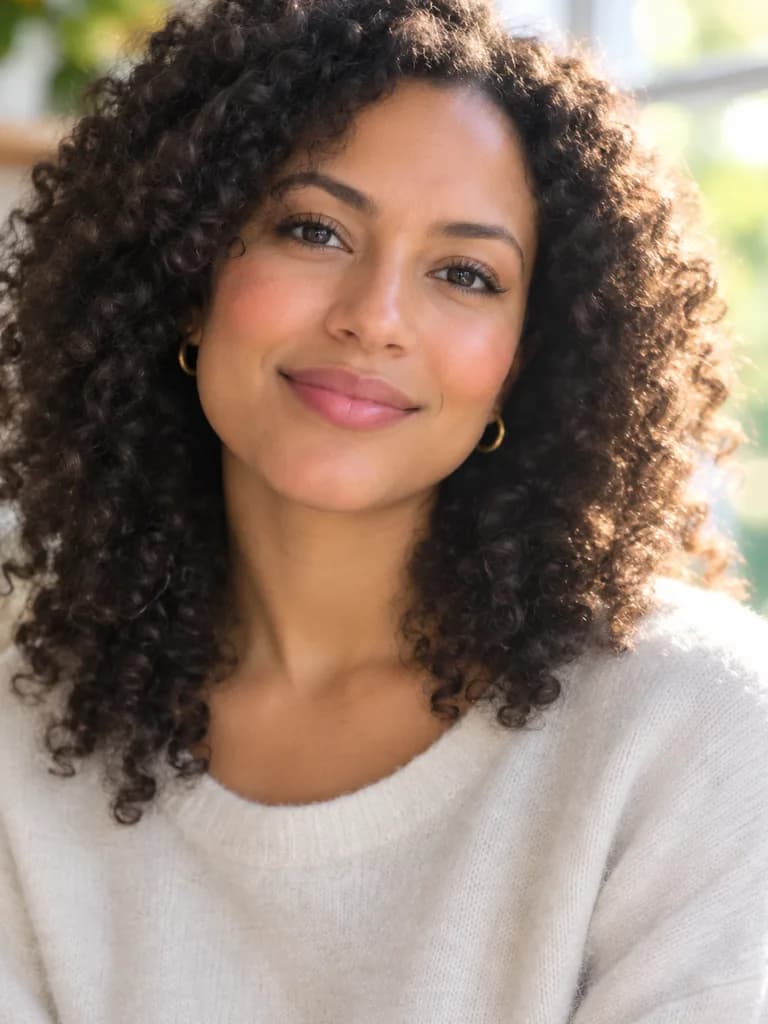
Restore this old photograph: remove every scratch, crease, stain and the torn corner, repair the faded areas, recover natural contrast and fine detail, and keep the composition, faces and clothing exactly as they are. Keep it black and white as a clean, sharp print.
Apply to my photoWhat should I check before I save the result?
Compare the result with your original, side by side. These tools are generative: they rebuild the picture rather than filter it, so three things can change.
- Faces. Eyes, mouth and hairline should match the original. If a face drifted, run it again and ask the model to change as little as possible.
- Filled-in areas. Anything that was torn away or covered by a stain is a guess. Keep your original scan as the reference copy.
- Edges and small detail. Hair against a new background, jewellery and lettering on clothes can shift. Zoom in before you save.
Questions about AI Photo Editing Tools
What kinds of tasks do these AI tools cover?
Three tasks today: restoring old or damaged photos, colorizing black-and-white pictures and changing the background behind a subject. Each tool page shows a real before-and-after first, so you can see the kind of result before you try your own photo. More tools are on the way.
Which tool should I use for an old family photo?
Start with restore if the print has scratches, creases or stains; it keeps the photo black and white. Then run colorize on the clean result if you want color. Doing it in that order keeps the damage from being colorized. Each step is a separate run, 12 gems on Nano Banana.
Do I need separate apps for each editing task?
No. All three tools run in the same web app, so you can restore a damaged print and then colorize it without exporting and re-importing between apps. Each run shows its credit cost before you generate: 12 gems per photo on Nano Banana.
Will editing reduce my photo's quality?
The tools are generative: they rebuild the image rather than filter it, so fine detail can change. Start from the sharpest scan you have, compare the result with the original before you save, and run it again if a face looks off.

Coming soon to the App Store for iPhone
Chat, photo and video generation with several AI models in one app.